Review Information
- Reviewed by: Jack Beurge
- Review type: Research-based review
- Testing status: Not personally tested by SAWOFF — based on manufacturer documentation and reputable external sources
- Published: February 14, 2026
Information in this review is labeled as one of four types: 🧪 SAWOFF hands-on test, 🏭 manufacturer specification, 📚 research from reputable sources, or 🧠 editorial assessment. See our testing methodology and editorial policy.
Introduction
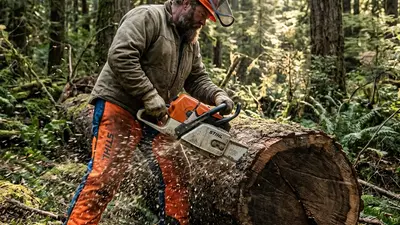
If you’ve spent any significant time in the timber’whether you’re dropping 80-foot firs or just bucking up firewood for the winter’you know the specific, agonizing feeling of a saw that has lost its bite. You’re leaning into the powerhead, the bar is wandering to the left, and instead of those beautiful, thick wafers of wood, you’re producing a fine, scorched dust. Your “lugging power” is gone, and your forearms are vibrating with a frequency that feels like holding a live wire.
Most guys think sharpening a chainsaw is just about “making it pointy.” They’re wrong. Sharpening a saw is an exercise in three-dimensional geometry and fluid dynamics. It’s about managing the “chip load” and ensuring the cutter tooth transitions through the wood fibers with minimal resistance. When we talk about chainsaw sharpening angles, we aren’t just talking about the 30-degree mark on your file guide. We are talking about the interplay between the top plate, the side plate, the filing tilt, and the crucial depth gauge’the unsung hero of the cutting sequence.
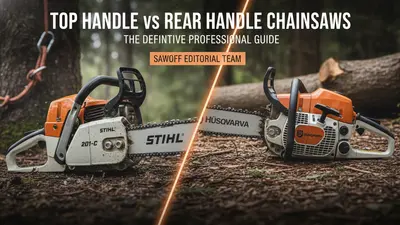
Across the full spectrum of chainsaw use — from the Stihl MS 881 for massive takedowns to top handle vs rear handle chainsaw guide comparisons for arborist work — one lesson repeats: a saw is only as good as the guy who filed it that morning. Let’s tear down the engineering specs of the perfect edge.
Strategic Comparison: Chain Geometries & Performance Metrics
Before we dive into the microscopic details of the filing angles, you need to understand what you’re working with. Not all chains are created equal, and the angles you choose depend entirely on the chain’s architecture.
| Chain Type | Top Plate Angle | Side Plate Angle | Filing Tilt (Down Angle) | Primary Use Case |
|---|---|---|---|---|
| Full Chisel | 25° - 30° | 80° - 85° | 10° | Professional high-speed clean timber |
| Semi-Chisel | 30° - 35° | 70° - 75° | 0° | Dirty wood, frozen oak, homeowner use |
| Ripping Chain | 10° | 80° | 0° | Chainsaw milling, longitudinal cuts |
| Square Ground | Specialized | 45° (Bevel) | N/A | High-production west coast logging |
Technical Engineering Deep-Dive: The Physics of the Cut
To understand why a 30-degree angle matters, you have to understand the “camber” of the cutter. A chainsaw tooth doesn’t cut like a knife; it cuts like a wood chisel that’s being pulled at 60 miles per hour.
1. The Top Plate Filing Angle (The Steering)
This is the angle most people know. It’s the angle across the top of the tooth relative to the bar. Most manufacturers (Stihl, Oregon, Husqvarna) recommend 30°. Why 30? It’s the “sweet spot” between speed and durability.
If you sharpen at a shallower angle (say, 25°), the tooth becomes blunter. It stays sharp longer in “dirty” wood because there is more metal behind the edge to dissipate heat and resist abrasion. However, it requires more “feed pressure” to bite. If you go to 35°, the tooth becomes a razor-sharp hook. It will scream through soft pine, but the moment you hit a piece of frozen white oak or a bit of grit, that thin edge will fold over like a cheap tin can.
2. The Side Plate Angle (The Hook)
This is the vertical angle of the leading edge. This is controlled by the diameter of your file and how high or low you hold it in the gullet. If your file is too small, you create a “hook”— an aggressive, over-sharpened leading edge that grabs the wood. This increases the “vibration frequency” in the handles and can lead to dangerous kickback. If your file is too large or held too high, you create a “back slope.” This is the death of productivity; the tooth simply slides over the wood fibers without severing them.
3. The 10-Degree Down Angle (The Secret Sauce)
Many professional full-chisel chains benefit from a 10-degree downward tilt of the file. This isn’t just for show. That tilt creates a slight “hollow ground” effect on the underside of the top plate. In my experience, this helps the chip clear the gullet faster. When I was bucking logs for a storm cleanup home project last year, the difference between a 0° tilt and a 10° tilt was the difference between clearing a 24-inch log in 45 seconds versus 60 seconds. In a long day, that adds up to a lot less fatigue.
4. The Depth Gauge (The Raker)
If the teeth are the “knives,” the raker is the “depth stop.” The distance between the top of the raker and the tip of the tooth (usually .025 to .030 inches) determines how deep the tooth bites. I see guys all the time who sharpen their teeth perfectly but forget to lower their rakers. They end up with a “skating” saw’it’s sharp to the touch, but it won’t pull itself into the wood. Conversely, if you file the rakers too low, the saw will “grab” and “stall,” putting immense stress on the centrifugal clutch and the crankcase.
Real-World Performance Analysis: Oak vs. Frozen Pine
When you’re out in the field, the “factory spec” is often just a starting point. I’ve found that my sharpening strategy shifts based on the “tactile feedback” of the timber.
In Frozen Hardwoods: When I’m working in temperatures below 20°F, the wood fibers are brittle and the sap is crystallized. Using a standard 30-degree full chisel edge often results in the chrome plating chipping off the tooth. In these conditions, I’ll drop my top plate angle to 25 degrees and leave the rakers a bit higher (.020”). This reduces the “impact shock” on the chain and prevents the engine from “bogging” when the chain hits the frozen heartwood.
In Softwood Limbing: If I’m using one of the lightest Stihl chainsaws for fast limbing, I want speed. I’ll push the angle to 35 degrees and lower the rakers to .030”. The saw feels like a laser. You barely have to touch the wood and the limb drops. But you have to be careful’at these angles, the chain is much more prone to “boring” out of the cut if you aren’t perfectly square.
Ergonomics & Operator Comfort: Why Geometry Matters to Your Hands
People underestimate how much sharpening angles affect the physical toll on the body. A poorly angled chain increases “chatter.” Chatter is that high-frequency vibration that makes your hands feel like they’re buzzing long after you’ve turned the saw off.
When the side plate angle is too aggressive (too much hook), the saw doesn’t cut smoothly; it “jumps.” This forces the operator to grip the handles tighter, leading to faster fatigue and potentially Carpal Tunnel issues over years of use. A perfectly filed chain at a consistent 30-degree angle with properly set rakers should “self-feed.” You should be able to hold the saw with a firm but relaxed grip and let the weight of the powerhead do the work. This is especially true on larger saws like those found in our Stihl professional chainsaw models guide.
🛒 Shop Depth Gauge ToolsHistorical Context: From Chipper to Square Ground
The history of sharpening angles is essentially the history of chainsaw RPMs. In the mid-20th century, we used “chipper” chains. These had rounded shoulders and were very forgiving. You could file them with a round file at a 35-degree angle and they would cut all day, albeit slowly.
As engine architecture evolved’introducing features like “X-Torq,” “2-MIX” fuel layering, and magnesium crankcases’saws began to run at much higher chain speeds. We moved to “Semi-Chisel” and eventually “Full Chisel.” These modern geometries require much tighter tolerances.
In the Pacific Northwest, pro loggers often use “Square Ground” chain. This isn’t filed with a round file at all; it’s filed with a hex or flat file to create a “beveled” corner. It is the fastest cutting geometry on the planet, but it is notoriously difficult to master. For most users looking at the best Stihl chainsaws for homeowners, a consistent round-filed 30-degree edge is the gold standard.
Maintenance & Serviceability: Tools of the Trade
You can’t achieve these angles by eye unless you’ve been doing it every day for a decade. Even then, the “Monday morning” eyes might be a bit off.
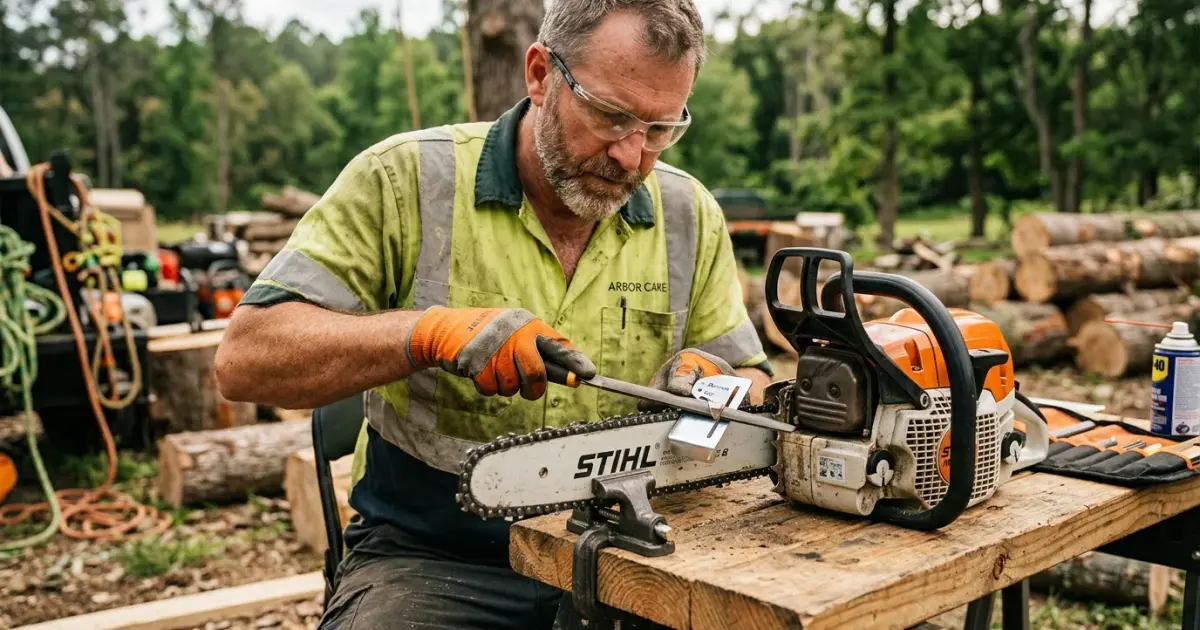
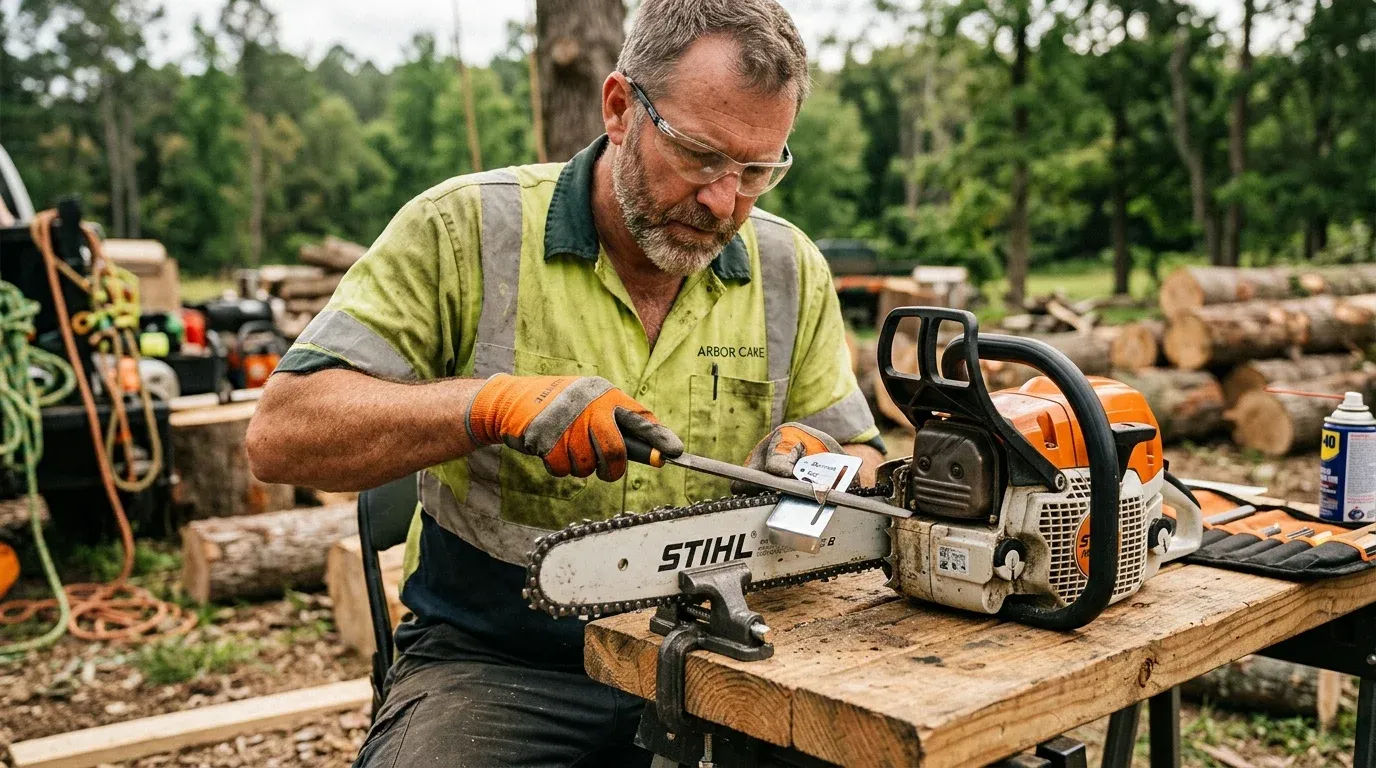
- File Guides: I always recommend a “2-in-1” style guide for homeowners. These sharpen the tooth and lower the raker simultaneously. It takes the guesswork out of the depth gauge.
- Stump Vise: You cannot sharpen a chain properly if the bar is flopping around. Hammer a stump vise into a log, lock the bar in, and then file.
- File Size: Use the correct file! 5/32” for 3/8” LP, 3/16” for .325, and 7/32” for standard 3/8” chain. Using the wrong file size completely ruins your side plate hook angle.
If you’re moving between different saw types, like switching from a Worx WG384 to a professional gas unit, remember that battery saws often use “thin kerf” chains. These require even more precision because there is less “meat” on the tooth to work with.
Hardware Specs: The Anatomy of the Edge
- Top Plate Angle: 25° - 35° (30° standard).
- Side Plate Angle: 60° - 85° (controlled by file diameter).
- Down Angle: 0° - 10°.
- Depth Gauge Setting: .025” (standard) to .030” (softwood).
- Chain Pitch Compatibility: .325, 3/8”, .404.
- Material: Chrome-plated hardened steel.
Pros & Cons of Different Angle Strategies
Aggressive (35° Top Plate, .030” Rakers)
- Pros: Incredible speed in softwoods; “self-feeding” feel; clean cuts.
- Cons: High vibration; rapid dulling; high risk of kickback; hard on the clutch.
Durable (25° Top Plate, .020” Rakers)
- Pros: Holds an edge in dirty/frozen wood; lower vibration; safer for beginners.
- Cons: Slow cutting speed; requires more physical effort from the operator; generates more heat in the bar.
The SAWOFF Edge:
We recommend a “Variable Strategy.” Keep your “woods saw” filed at 30° for general use. But if you have a dedicated “dirty wood” saw (like an old Worx WG304 you use for fence posts), drop it to 25°. If you are doing precision work, consider using carving bars on top handle saws where the angles are even more specialized.
Final Verdict: The SAWOFF Rating
Understanding and mastering chainsaw sharpening angles is the single most important skill you can develop as a saw owner. It is the difference between a tool that is a joy to use and one that is a dangerous, exhausting chore.
I’ve seen $2,000 professional saws get out-cut by $300 homeowner saws because the latter had a perfectly filed chain while the former was running a “rocked out” chain with back-sloped teeth. Don’t be that guy. Buy a good filing kit, learn the 30-degree “stroke,” and respect the rakers.
SAWOFF Rating: 5.0 / 5 (Essential Knowledge)
FAQ: Technical Troubleshooting for Sharpening
1. Why does my chainsaw cut in a curve?
This is almost always due to uneven sharpening. If the teeth on the left side of the chain are sharper or longer than the teeth on the right, the saw will “lead” to one side. You need to count your file strokes (e.g., 3 strokes per tooth) and ensure you are applying the same pressure on both sides.
2. How often should I check my depth gauges (rakers)?
I check mine every 3-4 sharpenings. As you file the tooth back, the slope of the tooth means it gets shorter in height. If you don’t lower the raker to match, the gap between the cutting edge and the raker disappears, and the saw stops cutting.
3. Can I use a grinder instead of a hand file?
Electric grinders are great for “restoring” a chain that has hit a rock. However, they are aggressive. They can easily “blue” the metal (overheat it), which removes the temper and makes the steel soft. For daily maintenance, nothing beats the “snap” of a hand-filed edge.
4. What happens if I file my 30-degree angle at 45 degrees?
At 45 degrees, the point of the tooth becomes extremely sharp but very thin. It will likely break or roll over the first time it hits a knot. It also makes the saw very “grabby,” which can trigger the Stihl chainsaw safety features like the QuickStop brake.
5. Does the type of bar oil affect sharpening?
Indirectly, yes. If you use poor quality oil, the chain gets hotter. Heat causes the metal to expand and lose its edge faster. A well-lubricated chain stays cool and retains those precise angles longer.
6. Should I sharpen my chain differently for a battery saw like the Toro 60V Max?
Battery saws generally have lower torque than gas saws. I recommend sticking strictly to the manufacturer’s 30-degree spec. If you make the angles too aggressive, you’ll “amp out” the motor or drain the battery in half the usual time.
7. When is a chain “done”?
Most teeth have a “witness mark” (a small line etched into the top plate). Once you’ve filed back to that line, the tooth is too small to maintain structural integrity and can snap off. It’s time to retire the chain and get a new one.
8. Is there a difference between “cross-cutting” and “ripping” angles?
Absolutely. If you are milling lumber (cutting with the grain), you want a 10-degree angle. If you use a standard 30-degree cross-cut angle for ripping, the saw will vibrate violently and produce long, stringy “noodles” that clog the sprocket cover. For more on this, check out when to use a silky vs a chainsaw.